What Is MongoDB ?
MongoDB is classified as a NoSQL database program. Unlike other document databases, it provides support for JSON-like storage. MongoDB database provides flexible data models, In addition to storing unstructured data, it supports indexing, and replication with rich and intuitive APIs.
Getting Started - Installation
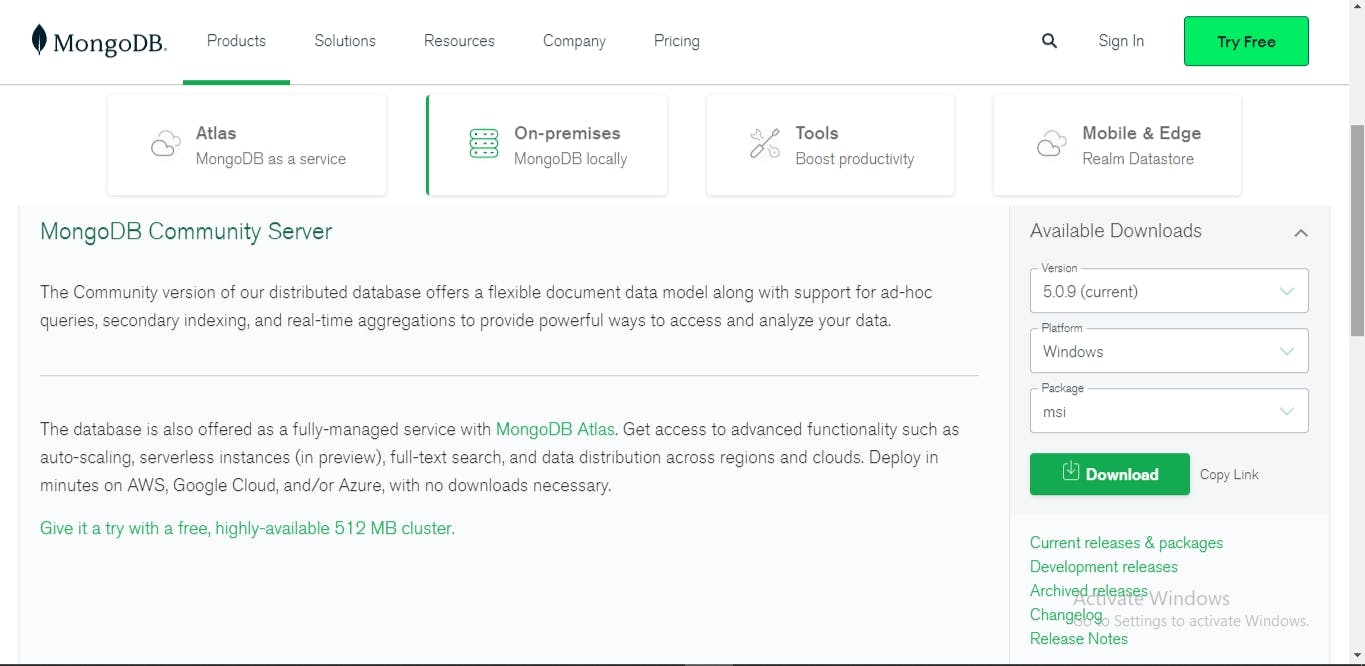
STEP 1 - Download MongoDB Community Server
Download the current version of MongoDB here and don't forget to select as the MSI package.
STEP 2 - Keep The Default Selection
Keep the default selection. No changes are needed.
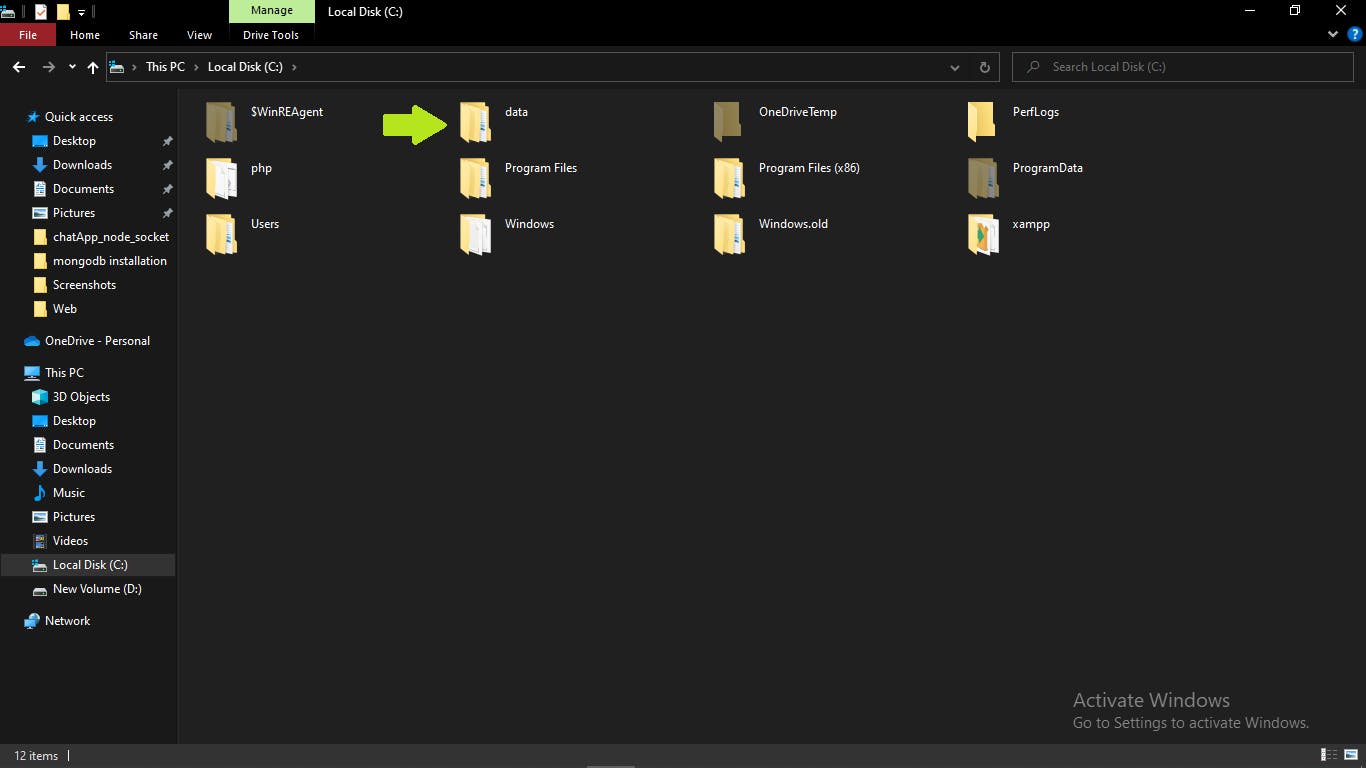
STEP 3 - After Installation -> Create a folder in C drive
After successfully installing, Create a folder name > data (lower-case) where MongoDB will save the Databases on your local System.
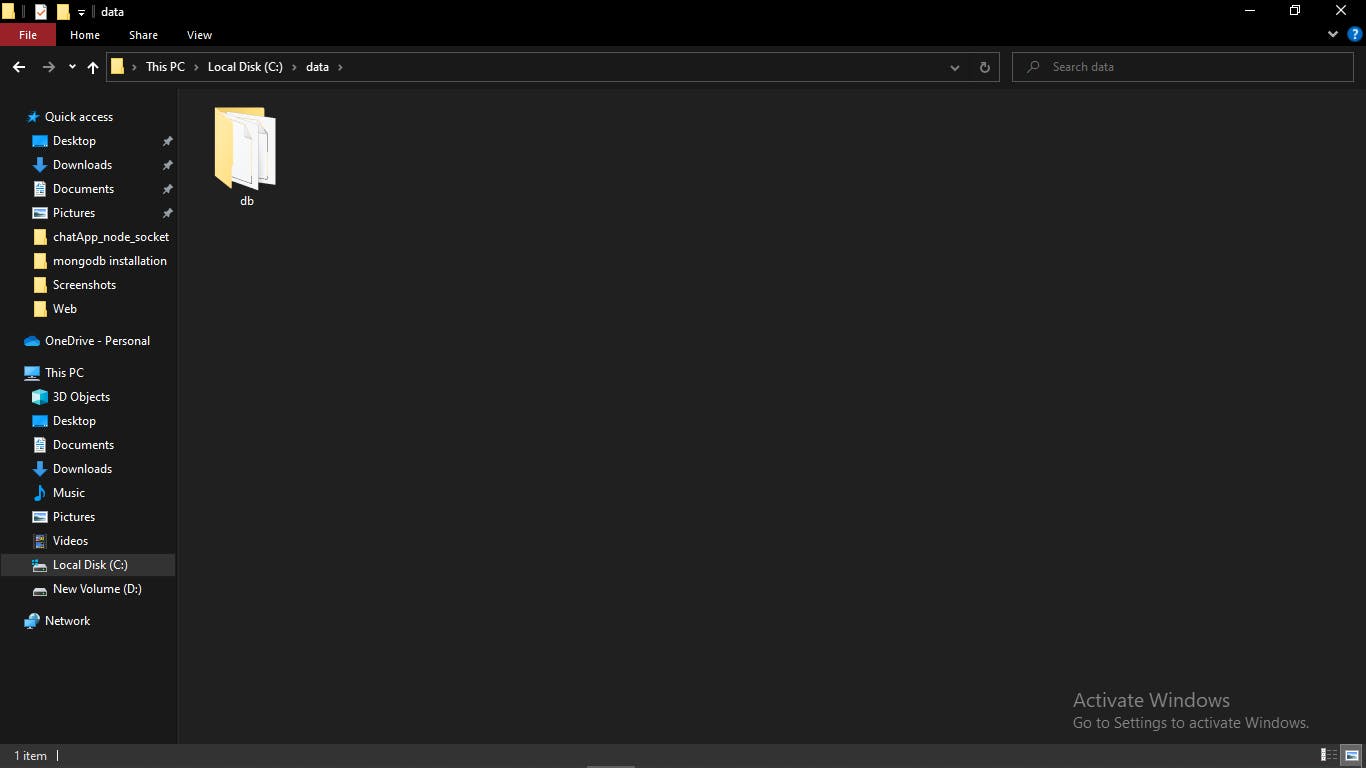
STEP 4 - Create another folder inside the data folder
Create a folder named db inside the data folder.
STEP 5 - Setup Alias Shortcuts for Mongo and Mongod
Now it's time to set up MongoDB on our local system, so that we can launch mongo.exe and mongod.exe straight from terminal using bash.
Follow the commands in the terminal shown below:
- Open your terminal
- Change your directory to home directory using the below command
cd ~
- Create a new file .bash_profile using the below command
touch .bash_profile
- Open the newly created .bash_profile using the VIM command
vim .bash_profile
- In vim, hit the I key on the keyboard to enter insert mode.
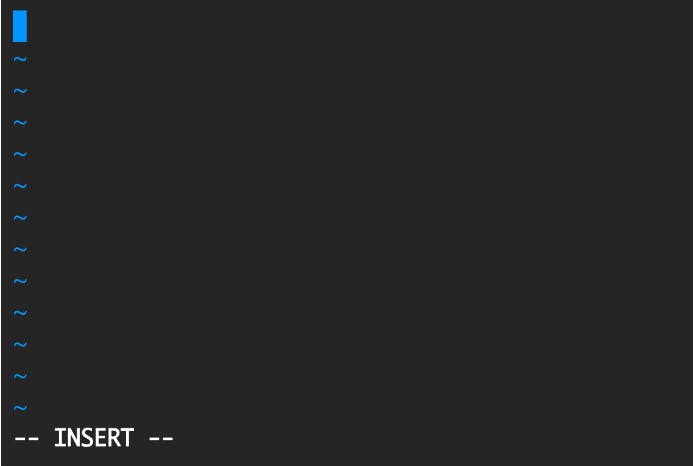
- See the version of your MongoDB
Go to C drive -> inside search MongoDB -> select the folder -> server -> go inside
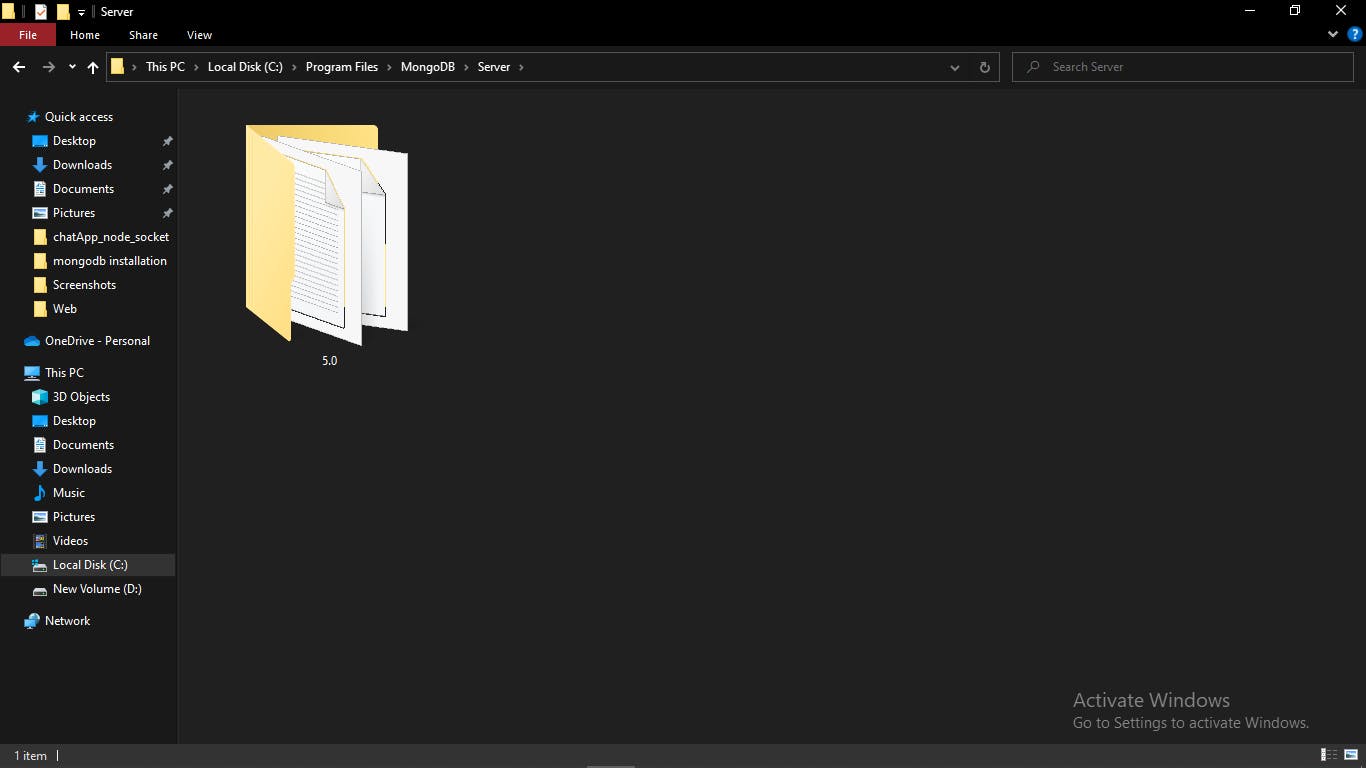
As you can see the version is 5.0
- Change the following code as per the version of your MongoDB and paste it in the vim editor:
alias mongod="/c/Program\ files/MongoDB/Server/5.0/bin/mongod.exe"
alias mongo="/c/Program\ Files/MongoDB/Server/5.0/bin/mongo.exe"
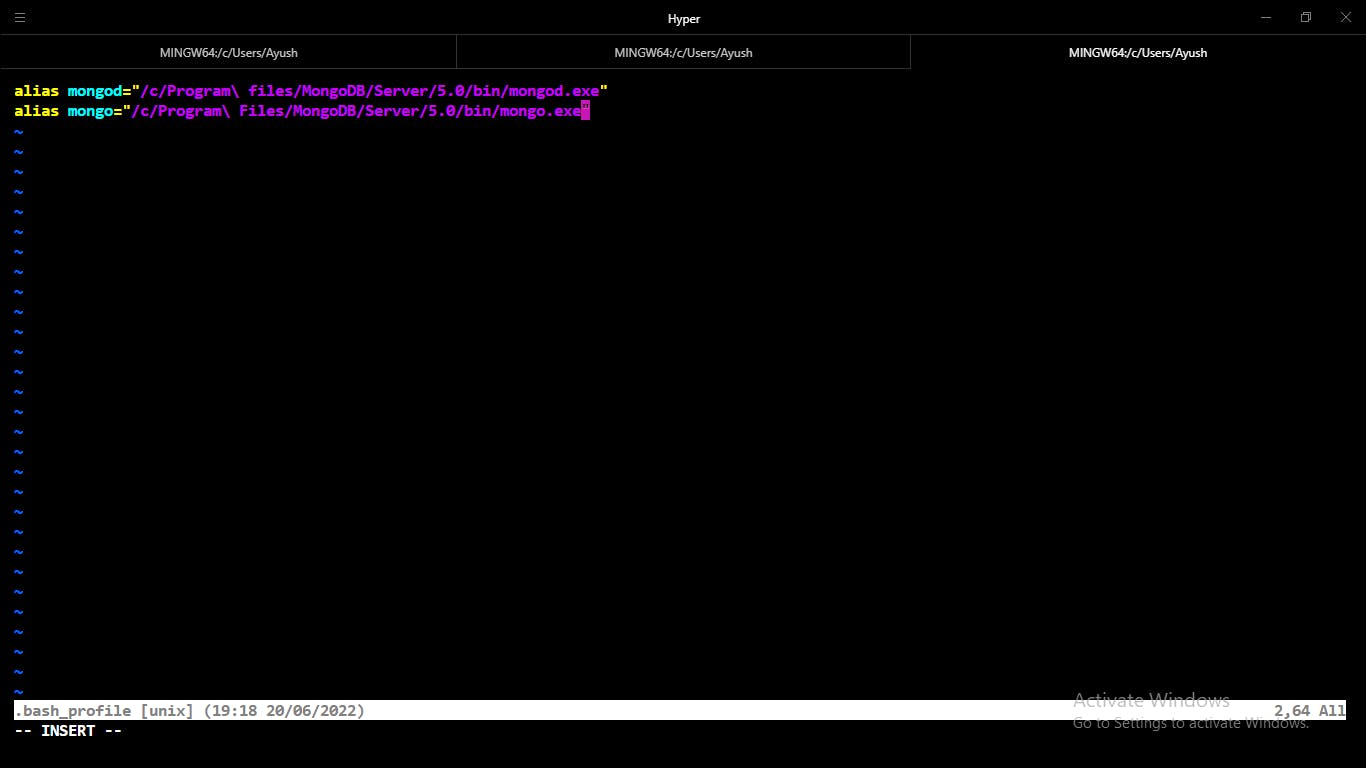
- Press the ESC button on your keyboard to exit the insert mode. Then type the following code below:
:wq!
STEP 6 - Verify your MongoDB Setup was Successful
Relaunch your Terminal
Paste the following commands in your terminal:
mongo --version
- Once you hit enter, you will see the following output in your command given below:
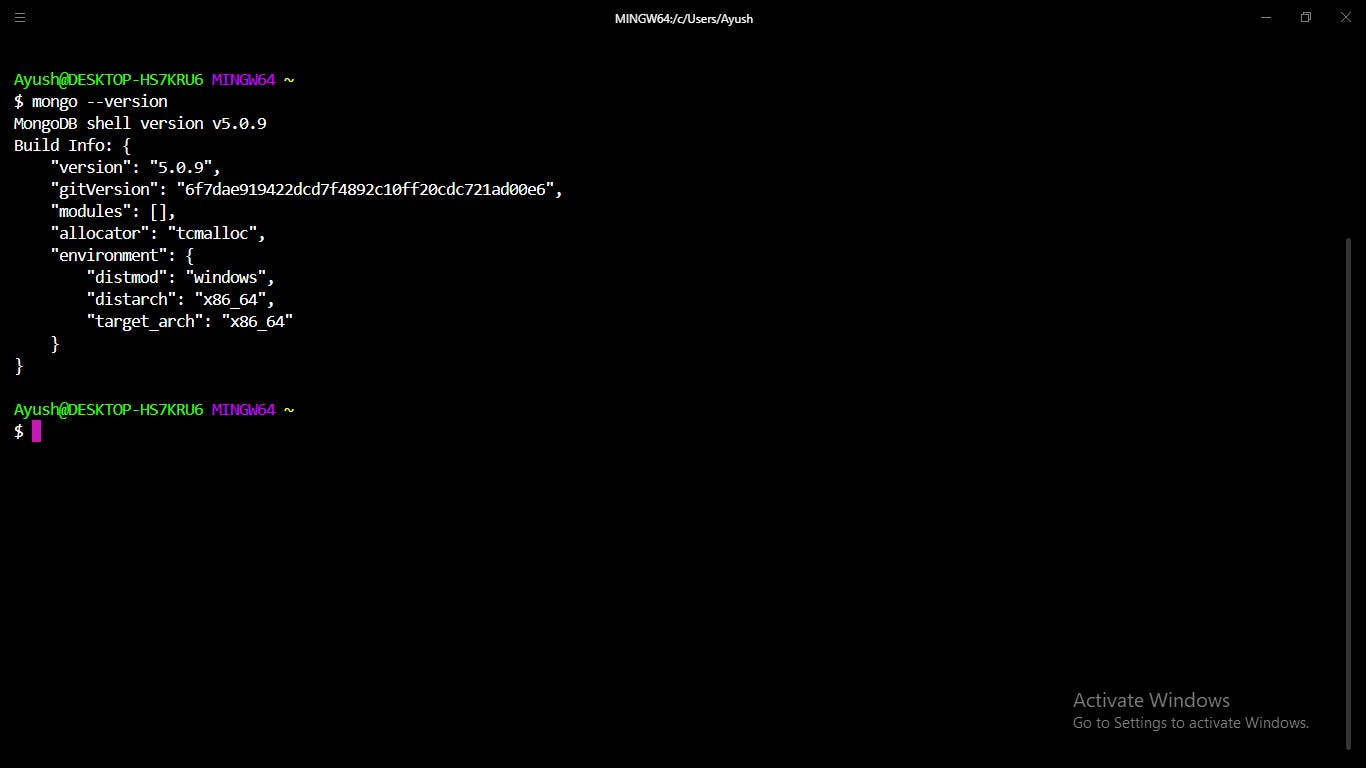
This means that you have successfully installed and setup MongoDB on your local system!
If something goes wrong, please make sure to check every step you followed perfectly, if it still exists you can DM me on twitter or LinkedIn below🙂.
